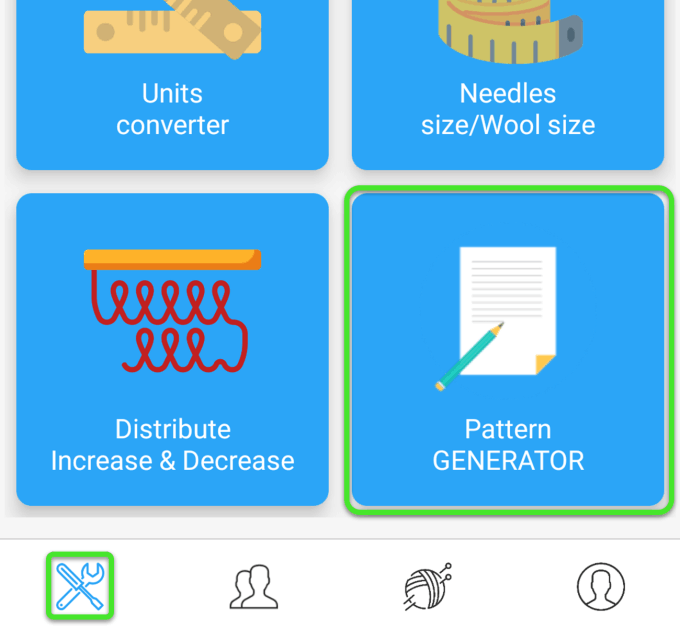
css templates

Pattern Creator

Pattern Creator allows knitting lovers to easily create and edit knitting and crocheting patterns.

Create wonderful patterns from your phone or tablet, using text, images, interactive charts, or videos
Publish your pattern in the app or as a PDF, keeping full control of who can access it.

Create a pattern

The basics

Mobirise

Where in the app?

Go to the tool section and tap "Pattern Generator"

Mobirise

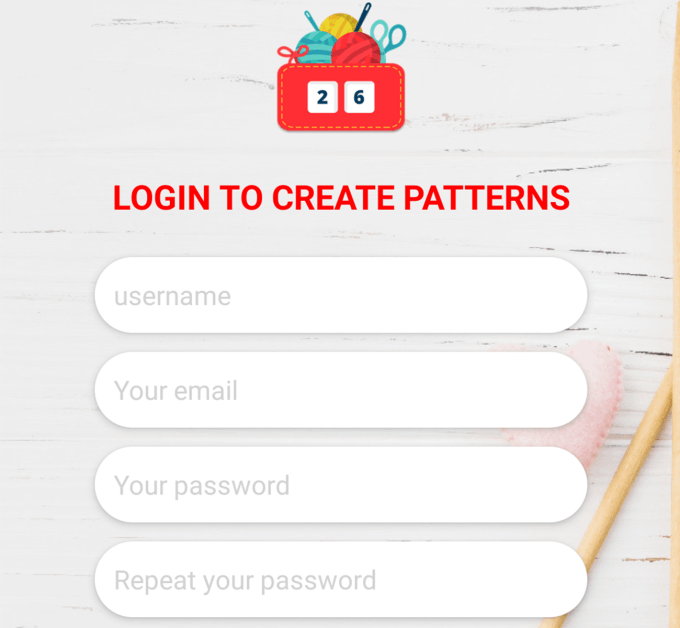
Why do I need to create an account?

We need you to create an account so that we can store and retrieve your patterns, in case you change device, reboot your phone...

Mobirise

Pattern Details

You first need to give us some basic information about your pattern: 
- Name of your pattern
- Language and category
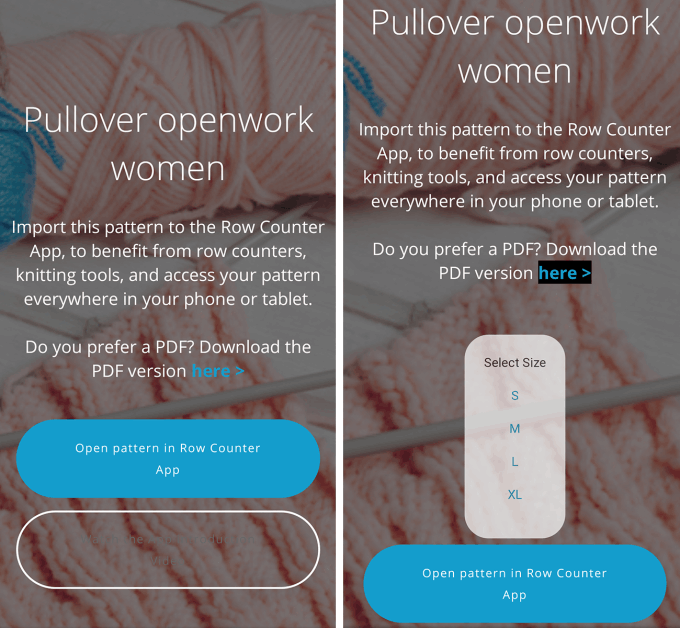
- Sizes available

Once this is done, you can either click on "add content" already, or add more details (gauge, technics, abbreviations...) but these are not mandatory.  

Mobirise

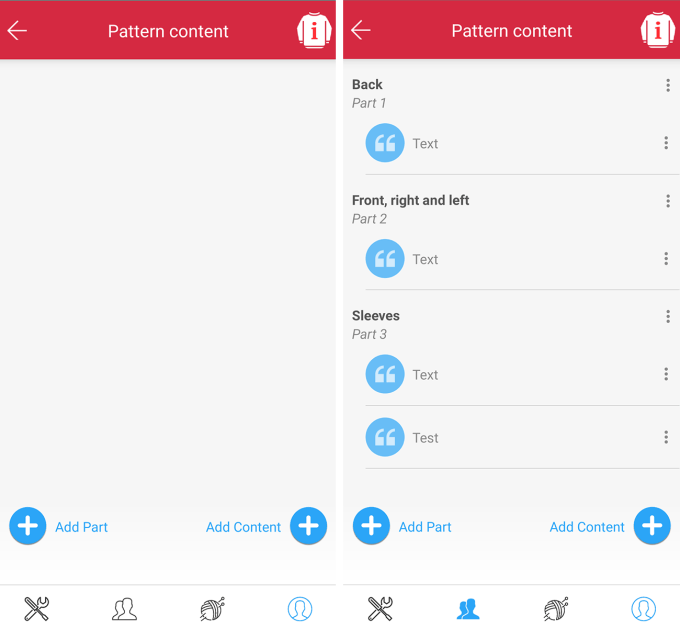
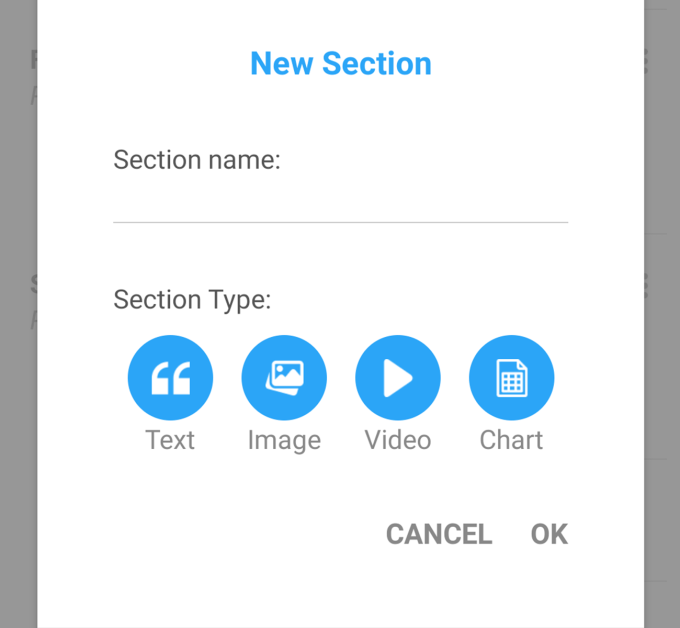
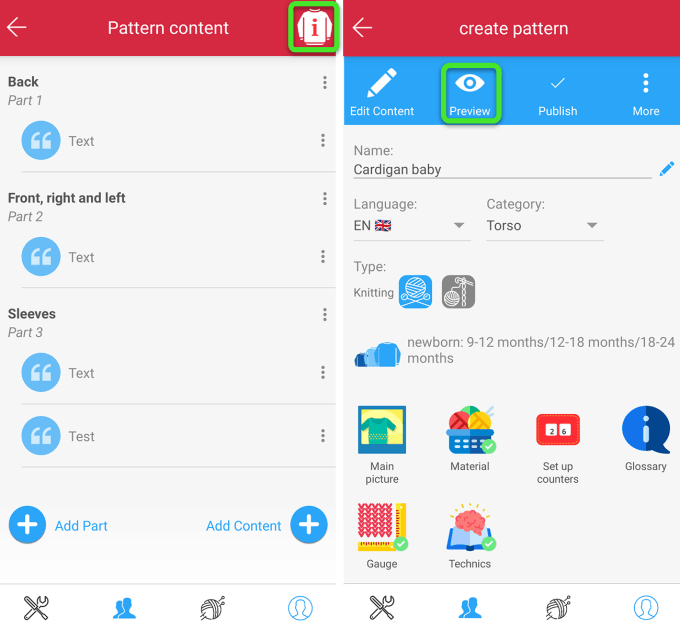
Organizing your pattern content

- You can add Parts: a part correspond to 1 piece of your knitting/crochetting project. For instance the front of a pullover, or a sleeve. 
- And pieces of content

For each knitting/crocheting piece that constitutes your pattern, please create a part first, and then add content to it.

Mobirise

What type of content can I add? 

You can add text content (with or without images attached to it), standalone images or videos and charts that you can create directly in the app.

Mobirise

Preview your pattern in progress

If you want to see your pattern in progress, tap the "i" icon on the top right corner to access the details of your pattern, and then tap "Preview". You will be able to see what you have created so far. 

Mobirise

Publish your pattern

On the pattern details screen, Tap "Publish". If you leave the tick box "Hide from search results" other users of the app will not be able to access the pattern without your permission. 

Mobirise

Share your pattern

On the pattern details screen, scroll down and you will see a link. You can share this link with your friends, they will then be able to access your pattern either in the app, or as PDF.

You can also create directly a PDF. Tap "More" and then "Download as PDF". This will generate a PDF version of your pattern.  

Adding content

You don't have to put each piece of content within a part.
- If you don't create any parts, 1 part will automatically created, that will contain all your content.
- For each content block that is not within a part, no counter will be shown when someone follow your pattern with the Row Counter App. This can be useful if you want to add an intro (any content type) to your pattern. In that case, first add your intro content, and then create your first part. 

To add a part, , click on the Add Part button on the left, enter a name for your part, then start adding content (see the following sections).
Content added after a part fall automatically into that part. But you can modify the order of your content and parts after creating them.

Click on the Add Content button, then select "Text" and press ok.
You can now add different texts to your patterns. You can choose to add either:
- Free Text: simple paragraphs of text
- Row instructions: Paragraphs of text related to a given row / range of rows. 

When adding text, you can add size-specific instructions. For that:
- Make sure the cursor is paced where you want to add this instruction
- Tap on the "Add size-specific instructions" button on the bottom left
- Enter your special text then click ok.

The person reading your pattern will then only see the instructions related to the specific pattern size she chose.

Adding pictures or video is pretty straightforward:
- Tap on the add content button,
- Enter a name, then
- Select "Image" or "Video" and press ok.

Either take a picture/video with your device, or add it from the gallery.

- Tap on the add content button, enter a name then select "Chart" and press ok.
- Enter the size of your chart, then press ok.

On the bottom you will see the available symbols, you can swipe right for more symbols.
If you don't find the symbol you need, you can create your own by swiping to the end of the available symbol list, then clicking the + button. Use the grid to create a new symbol, then enter the name of the symbol and the description of what it represents. To edit an existing symbol that you created, press long on it.

You can either add a symbol, a color, or both at the same time. When you add colors to your chart, an eye icon will appear, by clicking on it you will be able to have a realistic preview of how it will appear when knitted (for your convenience, the chart is repeated twice in height and 3 times in width in the preview).

Adding Pattern details

On the pattern details screen, a´click on gauge. 
Then enter how the gauge should be knit (stockinette, 1/1 ribs...) and the number of rows/stitches of your gauge for 10cm*10cm (4"*4"). This is optional.

On the pattern details screen, a´click on Material. 
You can then add various needles, specifying the type and size. 
You can also add yarn. use the "Import from Ravelry" Option to add your add details easily. This is optional.

Use the Glossary to specify all abbreviations you are using in your pattern, and their meaning. While knitting/crocheting with the app, the user will be able to consult this glossary at any time. It is therefore very useful for anyone that will use your pattern. This is optional.

Here you can specify the different technics you use to knit or crochet your pattern. While knitting/crocheting with the app, the user will be able to consult this at any time. It is therefore very useful for anyone that will use your pattern. This is optional.

This is optional as well.
For each part of your pattern, you can configure 1 main counter and several secondary counters as well as comments appearing on specific rows, so that the people following your pattern dont have to configure them.
More info on Counter Configuration > 

Preview and publishing

After having added content to your pattern, more options will be available in the pattern details screen. To access the pattern edition screen from the Content Editor screen, click on the sweater icon on the top right.
On the top  of the Pattern Details screen, you will see a “Preview” button, click on it to enter preview mode and have a look at your pattern. If you have several sizes, select the size you want to check, then browse your pattern and check that everything is working as intended.

When you are satisfied with your pattern you can publish it.

You can either choose:
- to make it public, in that case other users will be able to import it (but not modify it),
- or to keep it private.
You can always change a private pattern to a public one, but not the other way around.

If you make it public and publish it, it will take some time before it is visible by other users, so don’t worry if you don’t see it immediately in the list of public patterns (We manually review patterns before they are publicly visible, also keep in mind that we work in Europe time zones).

You made your pattern, now you want to use it! It’s simple, you just need to publish it first (either publicly or privately), then click on the 3 dots on the top menu and select “Create project from this pattern”. Import the pattern and you are good to go!

If you want a PDF version of your pattern, click on the 3 dots on the top menu and select “Download as PDF”.
- On Android, the pdf will be automatically downloaded to your device to your documents folder
- On iOS, you will have a link to the PDF pasted to your clipboard, you can paste it to your email client or browser.

When a pattern has been published, a sharing link will appear on the bottom left of the pattern details screen. You can click on it and send it to your friends. When they click this link, they will be redirected to our website and will be able to either open the pattern in the app or download it as a PDF.

You can also download it as a PDF, and send it yourself: Tap on the 3 white dots at the top right of the Pattern Details screen, and then tap "Download as a PDF".

For Knitters

The basics

Mobirise

Import from the app

Tap the wool ball icon in the menu, and select "Import aRC pattern"

Mobirise

Import from the web

From the web page, you can either import the pattern to the Row Counter app, or download it as a PDF

Mobirise

Create a new project

Before importing the pattern, you can consult various details (gauge, technics...). 
When importing, make sure to select the desired size.

Mobirise

Follow and customize the pattern

Tap on 1 text block to highlight it. You can also edit it, this will edit only your copy. 

Mobirise

Access pattern details at any time

While following your pattern, you can easily consult the gauge, technics or abbreviations. Just tap on the blue arrow in the bottom right, to see all options.

Mobirise

Charts features

Tap on the line you are following to see it highligted and have the legend customized according to that line's symbols

We hope it helped!

If not, write us at tricotonapp@gmail.com, we will do our best to answer your question